Trezor.io/start: Your Guide to Securely Starting with Trezor Wallet
Welcome to the definitive guide to trezor.io/start. Whether you’re brand new to hardware wallets or migrating from a different solution, this page walks you through everything you need to know to safely set up your Trezor device, initialize your wallet, secure your recovery seed, and begin managing your cryptocurrencies with confidence.
What Is Trezor and Why Use Trezor.io/start?
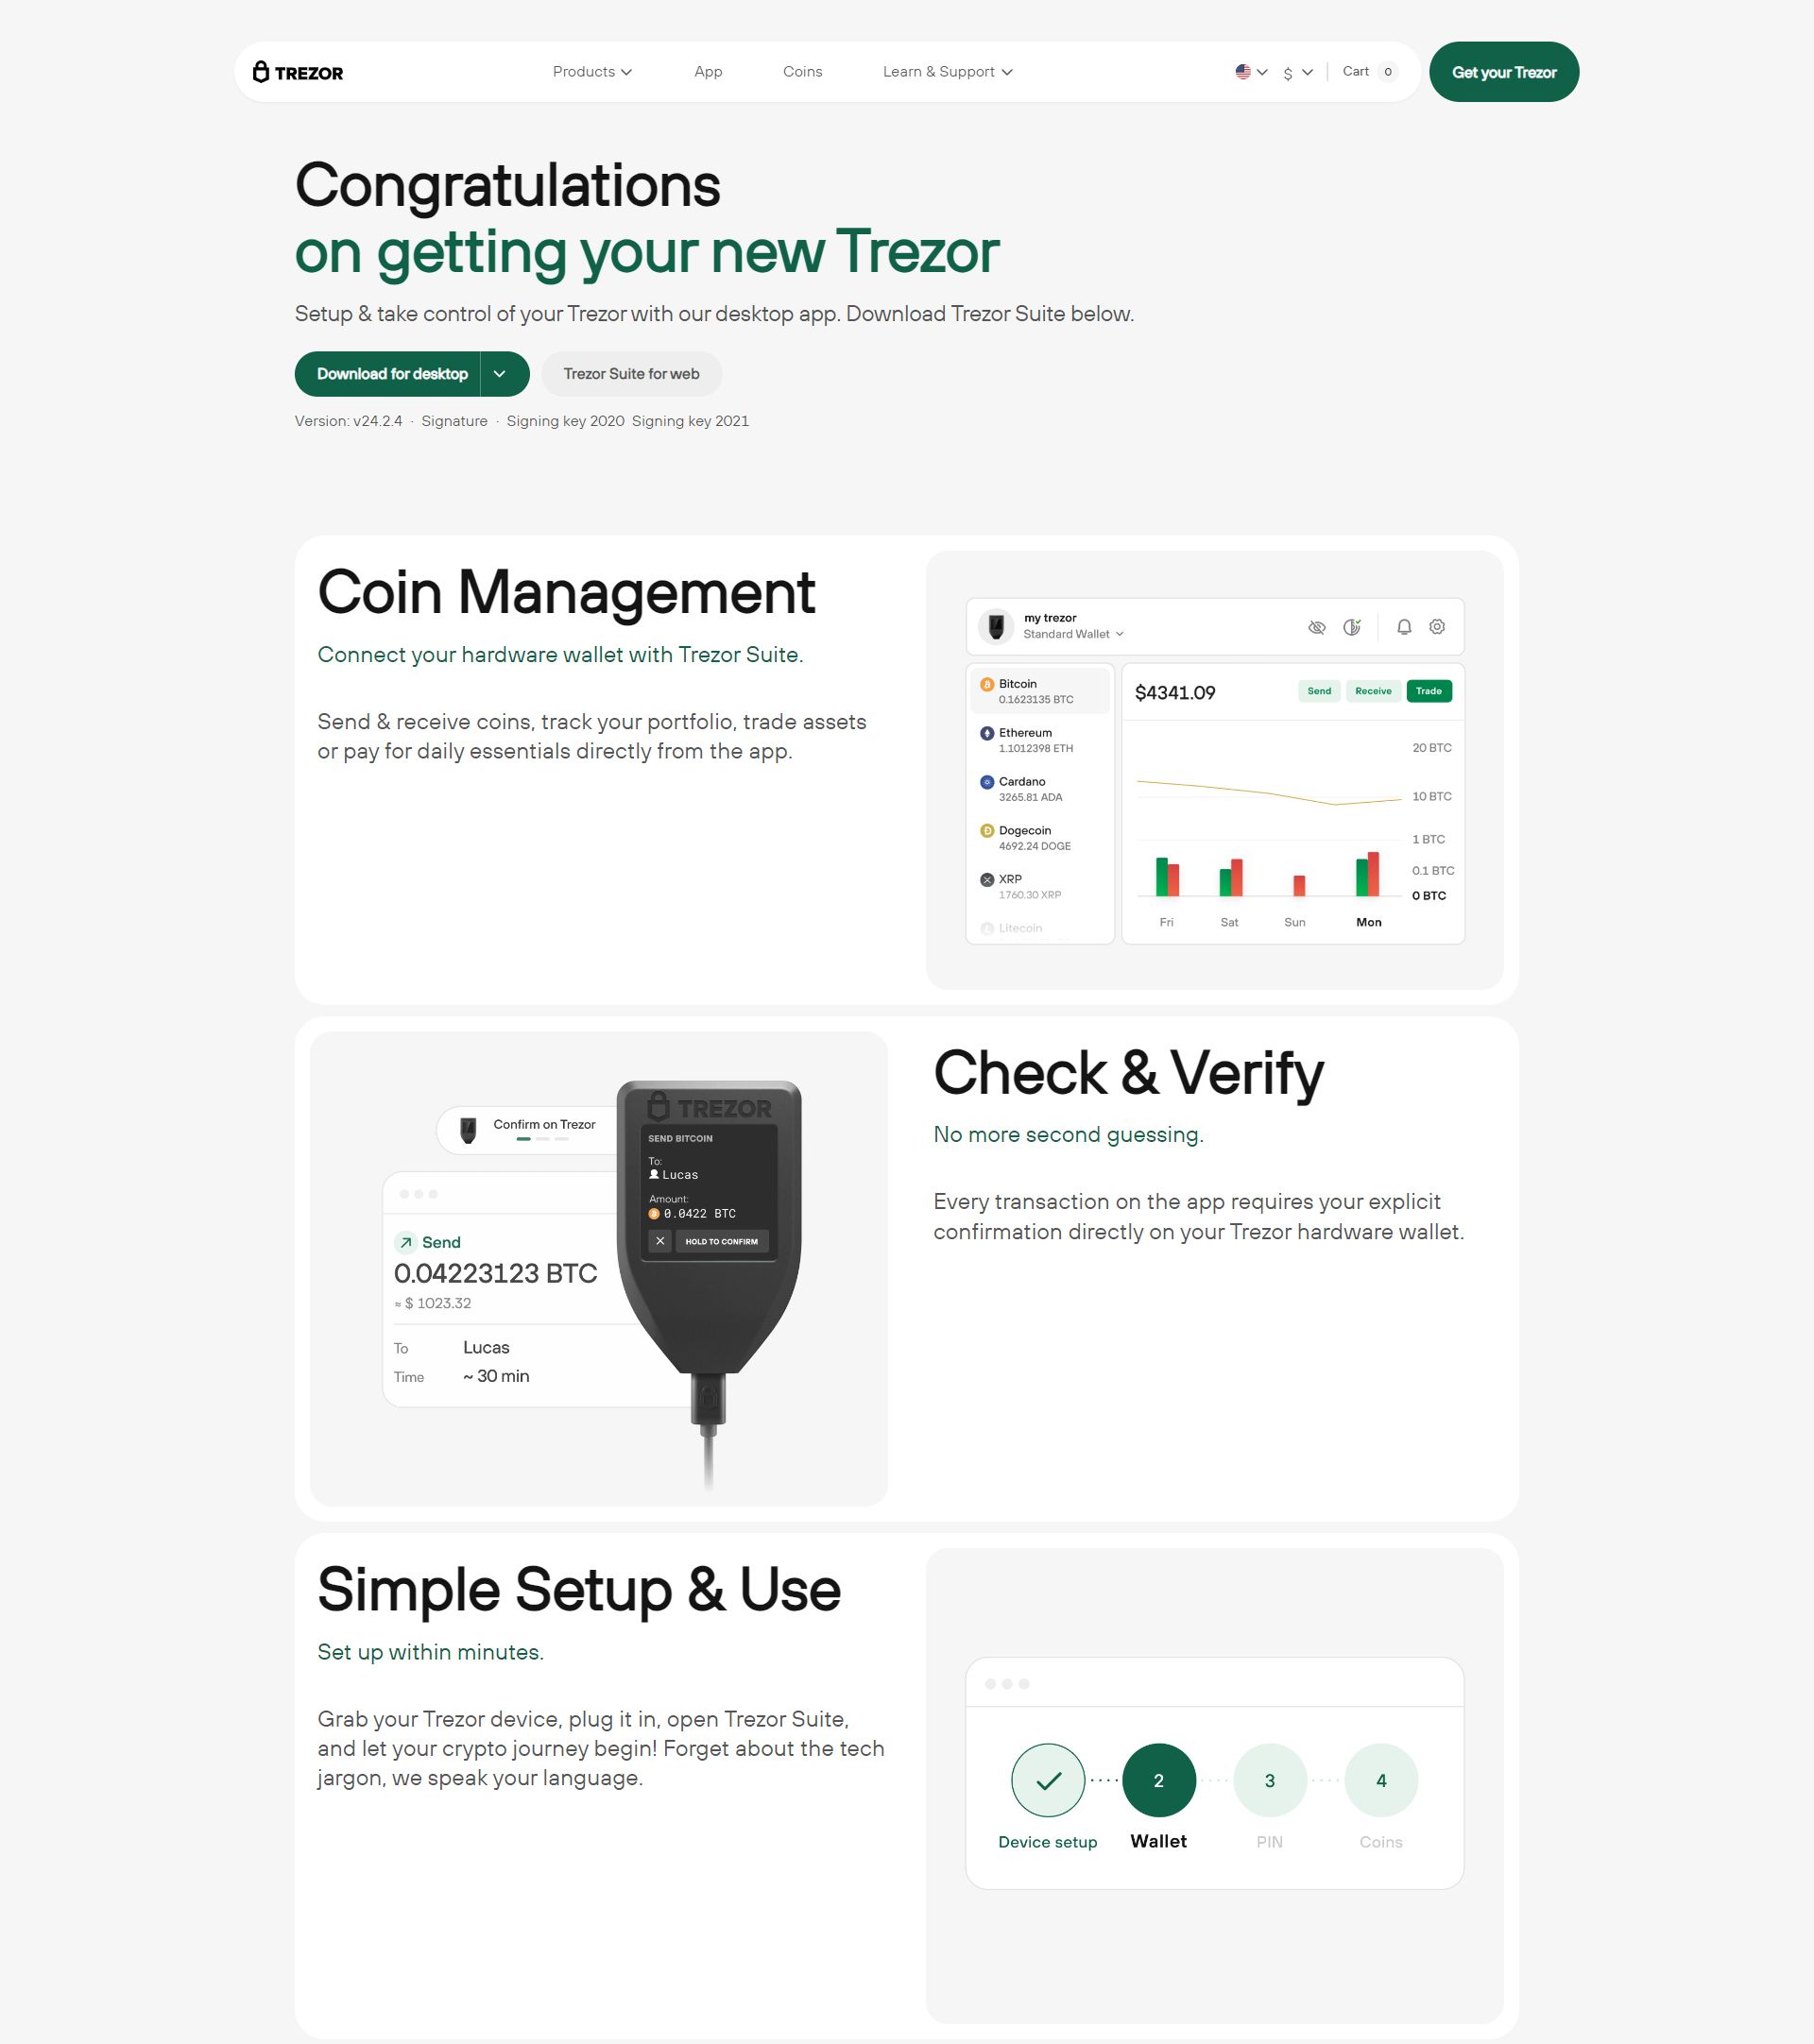
Trezor is one of the pioneering hardware wallet brands designed to keep your private keys offline. Unlike software wallets that remain vulnerable to malware or hacking, Trezor devices store your keys on a physical device, requiring your physical confirmation for transactions.
The URL trezor.io/start is the authorized onboarding portal recommended by the Trezor team. It provides verified downloads, step-by-step instructions, and security guidance. Always use this domain to avoid phishing sites that mimic Trezor’s setup process.
Why a Hardware Wallet Matters for Crypto Security
In the crypto world, your private key is your identity and ownership. If someone obtains it, they control your funds. A hardware wallet like Trezor ensures your keys never leave the device, even when you connect to a computer.
Trezor’s architecture ensures that all transactions must be physically confirmed on the device. The unsafe environment of your computer cannot alter or see your private key directly.
Step‑by‑Step Walkthrough at Trezor.io/start
Below is a detailed guide on how to correctly proceed through the setup flow using trezor.io/start:
- Verify Packaging: When your Trezor device arrives, check for tamper-evident seals or shrink wrap. If anything seems compromised, do not use it and contact support immediately.
- Go to trezor.io/start: Type this address manually into your browser to avoid phishing links. Ensure the site is secure (HTTPS, correct domain).
- Download Bridge / Suite: From the official page, download Trezor Bridge or Trezor Suite, depending on your OS and browser setup. Use verified checksums or signatures if provided.
- Install and Launch: Install the software, then launch it. It should guide you to connect your Trezor device via USB or via supported interfaces.
- Initialize the Device: Choose to “Create a new wallet” if this is your first time. The device will prompt you to set a PIN — do this carefully and memorize it.
- Generate and Record Recovery Seed: The Trezor will display a 12‑ or 24‑word recovery seed (depending on model). Write each word in correct order on the provided card. Confirm the seed on the device when asked.
- Install Apps / Coins: In Trezor Suite, add supported coins or tokens. Each protocol may require you to install a specific app or plugin.
- Access Your Accounts: Use the suite to add accounts for Bitcoin, Ethereum, and others. You’ll then be able to view balances, send, receive, and interact with dApps.
- Verify all addresses: Always verify that addresses shown on-screen are identical on your hardware device before approving any transaction.
Best Security Practices for Your Trezor
Setting up is only part of the journey—maintaining security is ongoing. These practices help protect your assets:
- Never share your recovery sentence: Trezor or any legitimate service will never ask for those 12/24 words.
- Do not store your seed digitally: Avoid storing it in email, cloud, photos, or text files. Use paper or steel backups.
- Verify site authenticity: Always use trezor.io or suite.trezor.io, and beware of lookalike domains.
- Keep firmware & software updated: Regularly update Trezor firmware and the Trezor software to patch vulnerabilities.
- Use a strong PIN: Avoid simple or sequential PINs. Enter PIN only on the device screen.
- Use passphrase (advanced users): Trezor supports an optional passphrase to create a hidden wallet. Use only if you fully understand it and remember the passphrase reliably.
- Beware phishing & social engineering: Never input your seed in any web page or trust emails claiming recovery assistance.
“Your hardware wallet is only as safe as your recovery seed; treat it like your most precious asset.”
Troubleshooting Common Setup Issues
Even with careful steps, users may hit bumps. Below are familiar problems and their fixes:
- Device not detected: Try another USB cable, switch USB port, ensure the Trezor is unlocked and trusted.
- Forgot PIN or wrong entries: Entering the incorrect PIN too many times may reset the device. You will need the recovery seed to restore.
- Firmware update fails: Ensure internet connectivity, close other apps, and retry. Update is best done via Trezor Suite.
- Missing coin or token: Some assets require custom derivation paths or third-party integrations. Check Trezor documentation.
- Phishing suspicion: If something feels off, stop, disconnect, and verify domain authenticity. Do not proceed.
What You Can Do After Setup
Once the setup is complete and your wallet is functioning:
- Send and receive cryptocurrencies securely
- Interact with decentralized finance (DeFi) and Web3 applications
- Staking or delegating supported assets (if supported by your model)
- Portfolio tracking, transaction history, and settings
- Connect to external dApps via Web3 provider integrations (e.g. MetaMask + Trezor).
Frequently Asked Questions (FAQ)
Is trezor.io/start the legitimate setup URL?
Yes. Trezor’s official documentation refers to trezor.io/start as the recommended onboarding portal. Using this domain helps ensure you download official software and avoid phishing sites.
Do I need a username/password?
No. Trezor doesn’t use conventional login credentials. Your identity is your device combined with PIN and optional passphrase. All confirmations happen on the hardware itself.
What if I lose my device?
You can restore your wallet and funds using the recovery seed you wrote down. Once entered into a new Trezor or compatible wallet, you regain access to your assets.
Should I use the passphrase feature?
Use the passphrase only if you fully understand its implications. It adds an extra security layer but can create hidden wallets that vanish if the passphrase is forgotten.
Which Trezor models are supported?
trezor.io/start supports all major Trezor models including Trezor One, Trezor Model T, and any new releases. Each has tailored setup instructions.
Conclusion
Trezor.io/start is your trusted starting point for setting up your hardware wallet securely. By following each step carefully — verifying packaging, downloading official software, initializing the device, safeguarding your recovery seed — you build a strong foundation for managing digital assets securely.
Security doesn’t end at setup; maintain vigilance through firmware updates, secure PINs, careful domain usage, and never revealing your seed. If you ever doubt a page or email, stop and verify. Your cryptos are only as safe as the weakest link in your process.
Begin your journey with confidence. Visit trezor.io/start, follow the verified steps, and take control of your digital assets securely.